YAY! Spring is getting closer!
Hello friends!
Welcome to a new month of crafting fun and that means it's also
time for a new CRAFTY SECRETS LINKY PARTY and Design Team Challenge.
This month the team is focused on SPRING!
So we will be sharing a variety of wonderful St. Patrick's Day, Easter, Gardening
and anything else that screams SPRING creations with you though out the month of March.
My DT creation/tutorial I'd like to share is this cute
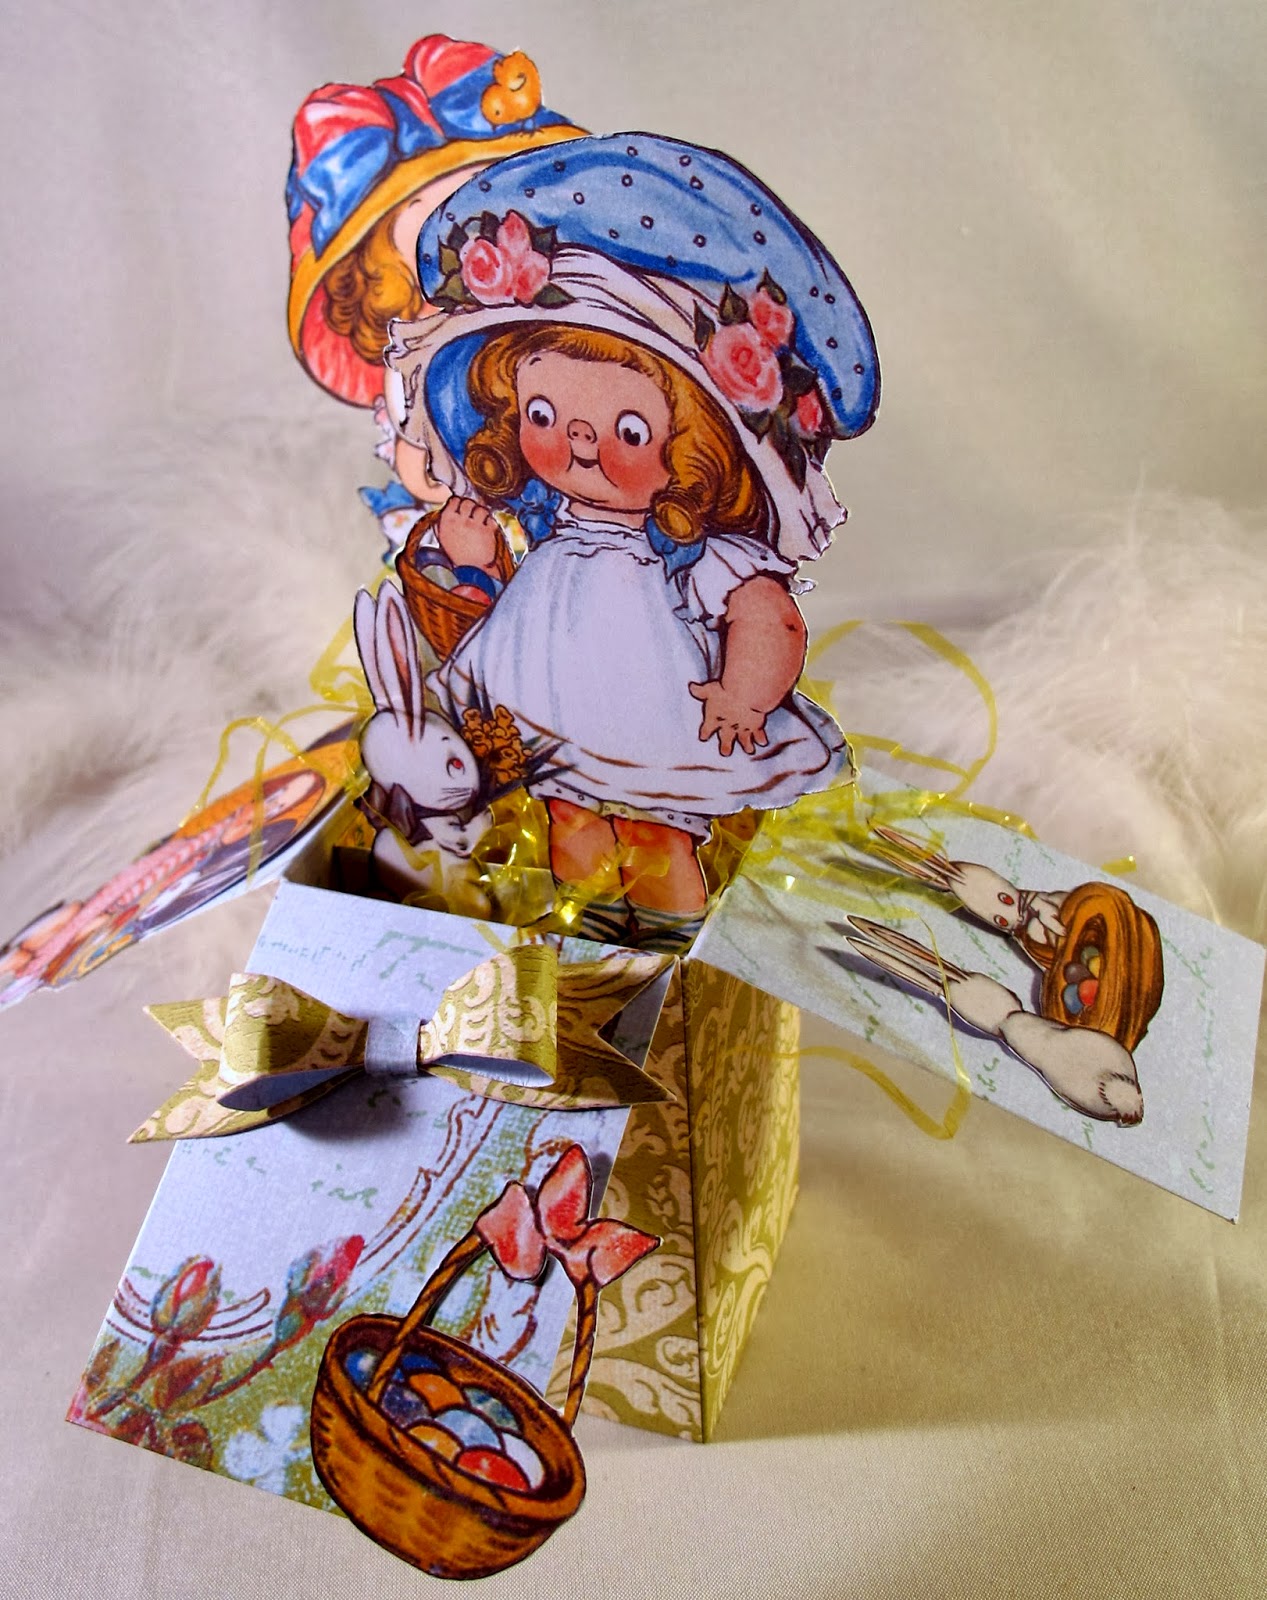
Easter 'Card in a Box' using Crafty Secrets 'Easter Cut Out Kids' and their 'Green Damask Floral' digital papers.
WARNING!
Since I'm not set up to do video tutorials, this post will be PHOTO HEAVY!
The original instructions/video came from
STEP 1:
Choose your paper(s). Tina used kraft cardstock and design paper panels on her box but I decided to print out the beautiful Crafty Secrets 'Green Damask Floral' paper today. Printing the coordinating patterns on both sides of my 100# bright white card stock.
Once printed, cut your paper 8 1/4" x 9".
STEP 2:
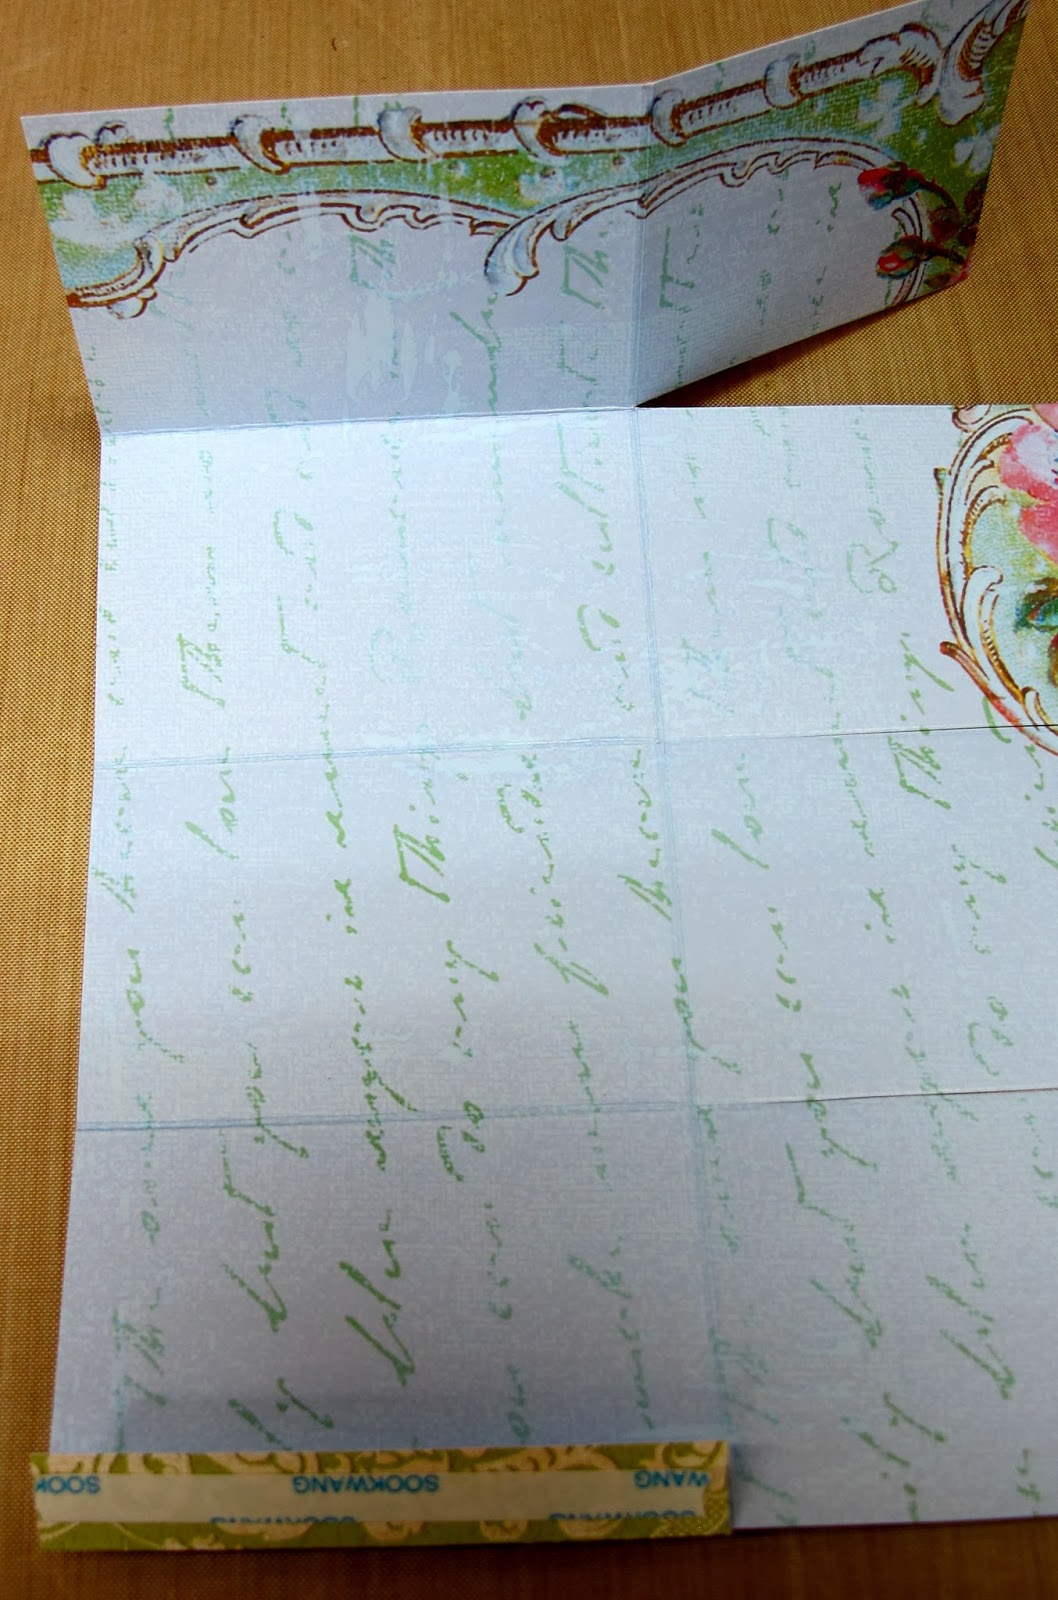
Score along the 9" side of your paper at 2 1/8", 4 1/4", 6 3/8" and 8 1/2".
NEXT, turn your paper 90 degrees and score at 2 3/4"
STEP 3:
With the 8 1/4" side on top and your 2 3/4" score to the left ...
cut your cardstock to measure 6". Save the piece that is cut off.
From the scrap piece, measure and cut at 3 1/8" making sure to include the 'tab'.
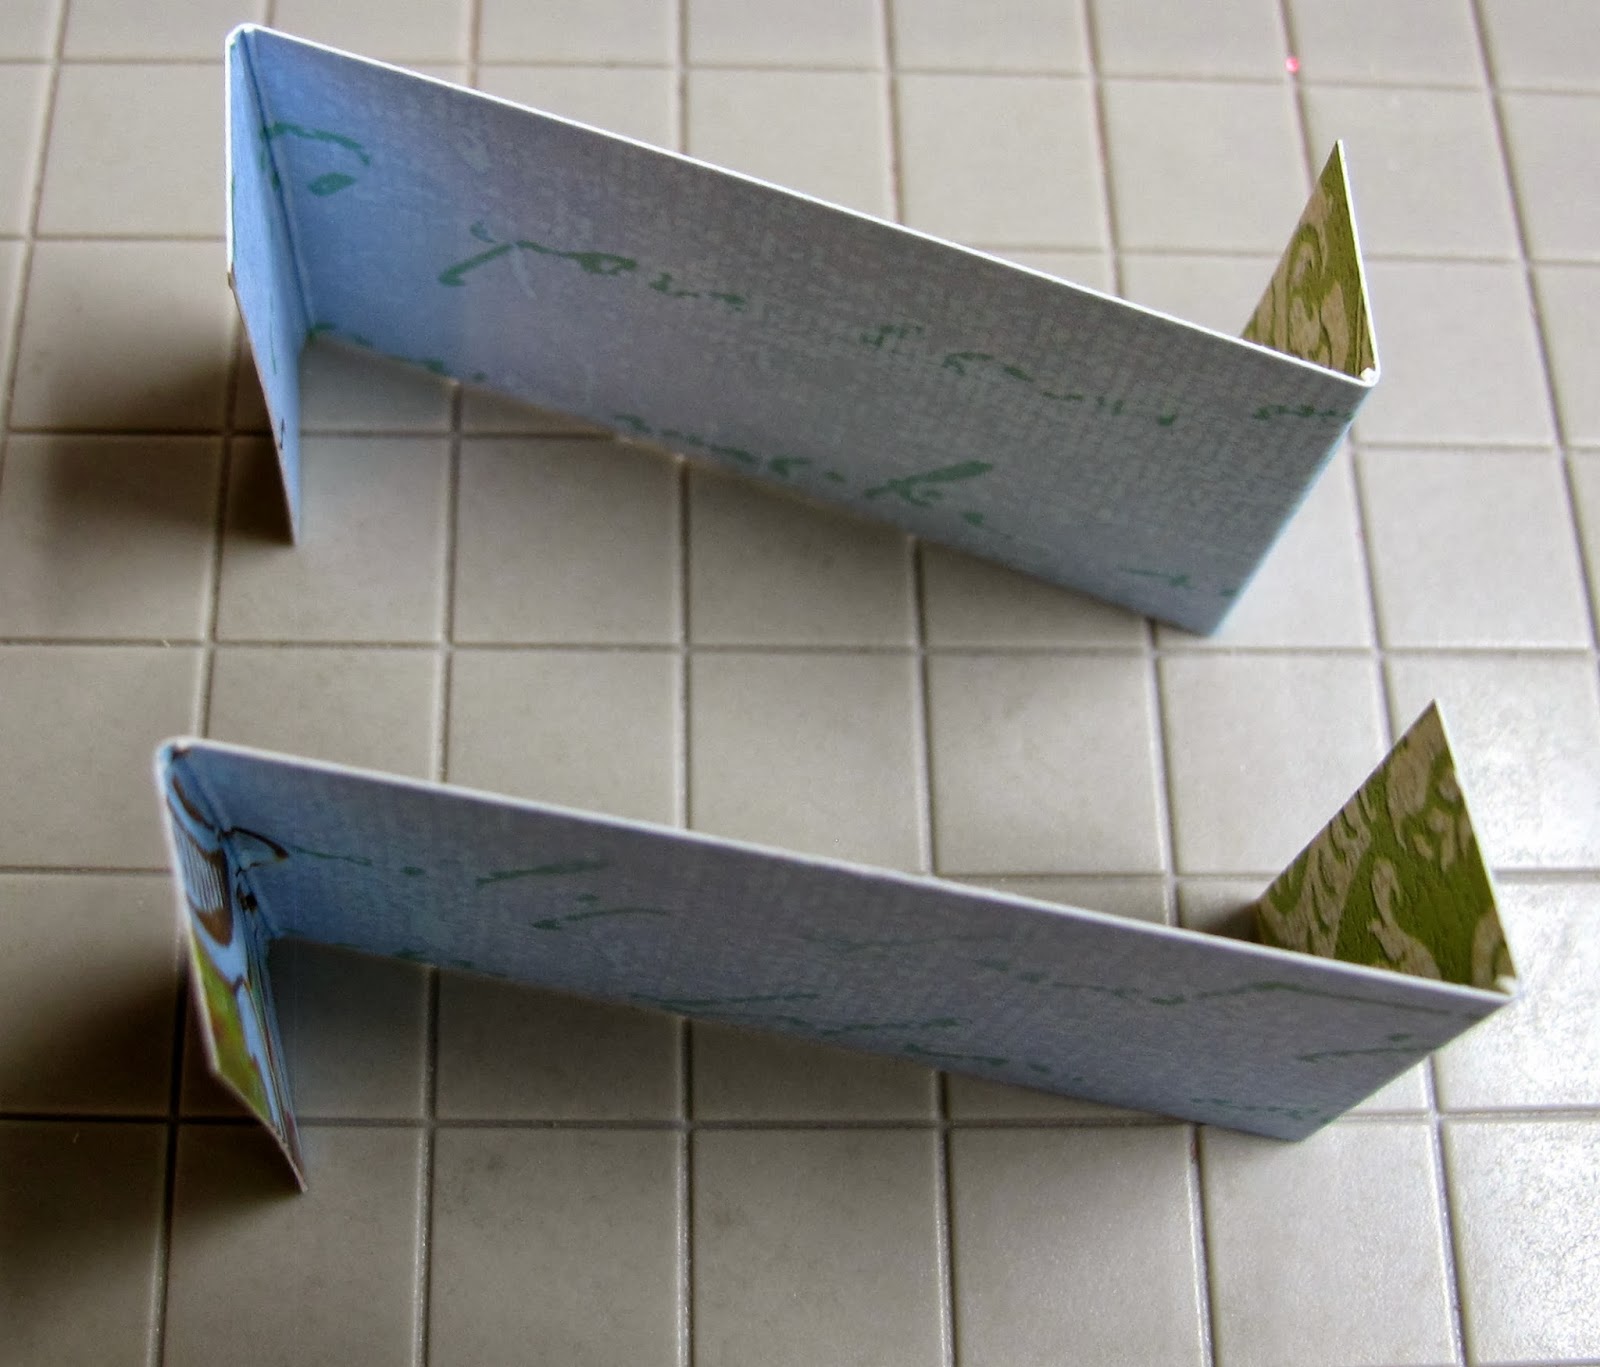
This will give you a piece (see below) that has a 'tab' on either end.
Cut this piece in half at 1 1/8" so now you have two strips.
Each with a 'tab' at each end (see below).
Fold 'tabs' to make a 'z' and adhere sticky strip (such as scor tape)
to ends and set aside.
STEP 4:
With your main card stock position so the 2 3/4" side is at the top
and cut along the SMALL square score lines to create the flaps.
Trim off the tiny strip that is left over, you won't need it.
(HINT: the LONGER panels will create the box
and the SHORTER panels will create the flaps.)
When using 2 sided papers as I am here,
you can now choose which pattern you want as the inside of your box
and which pattern you want as the outside.
I've chosen the blue inside and the green on the outside.
STEP 5:
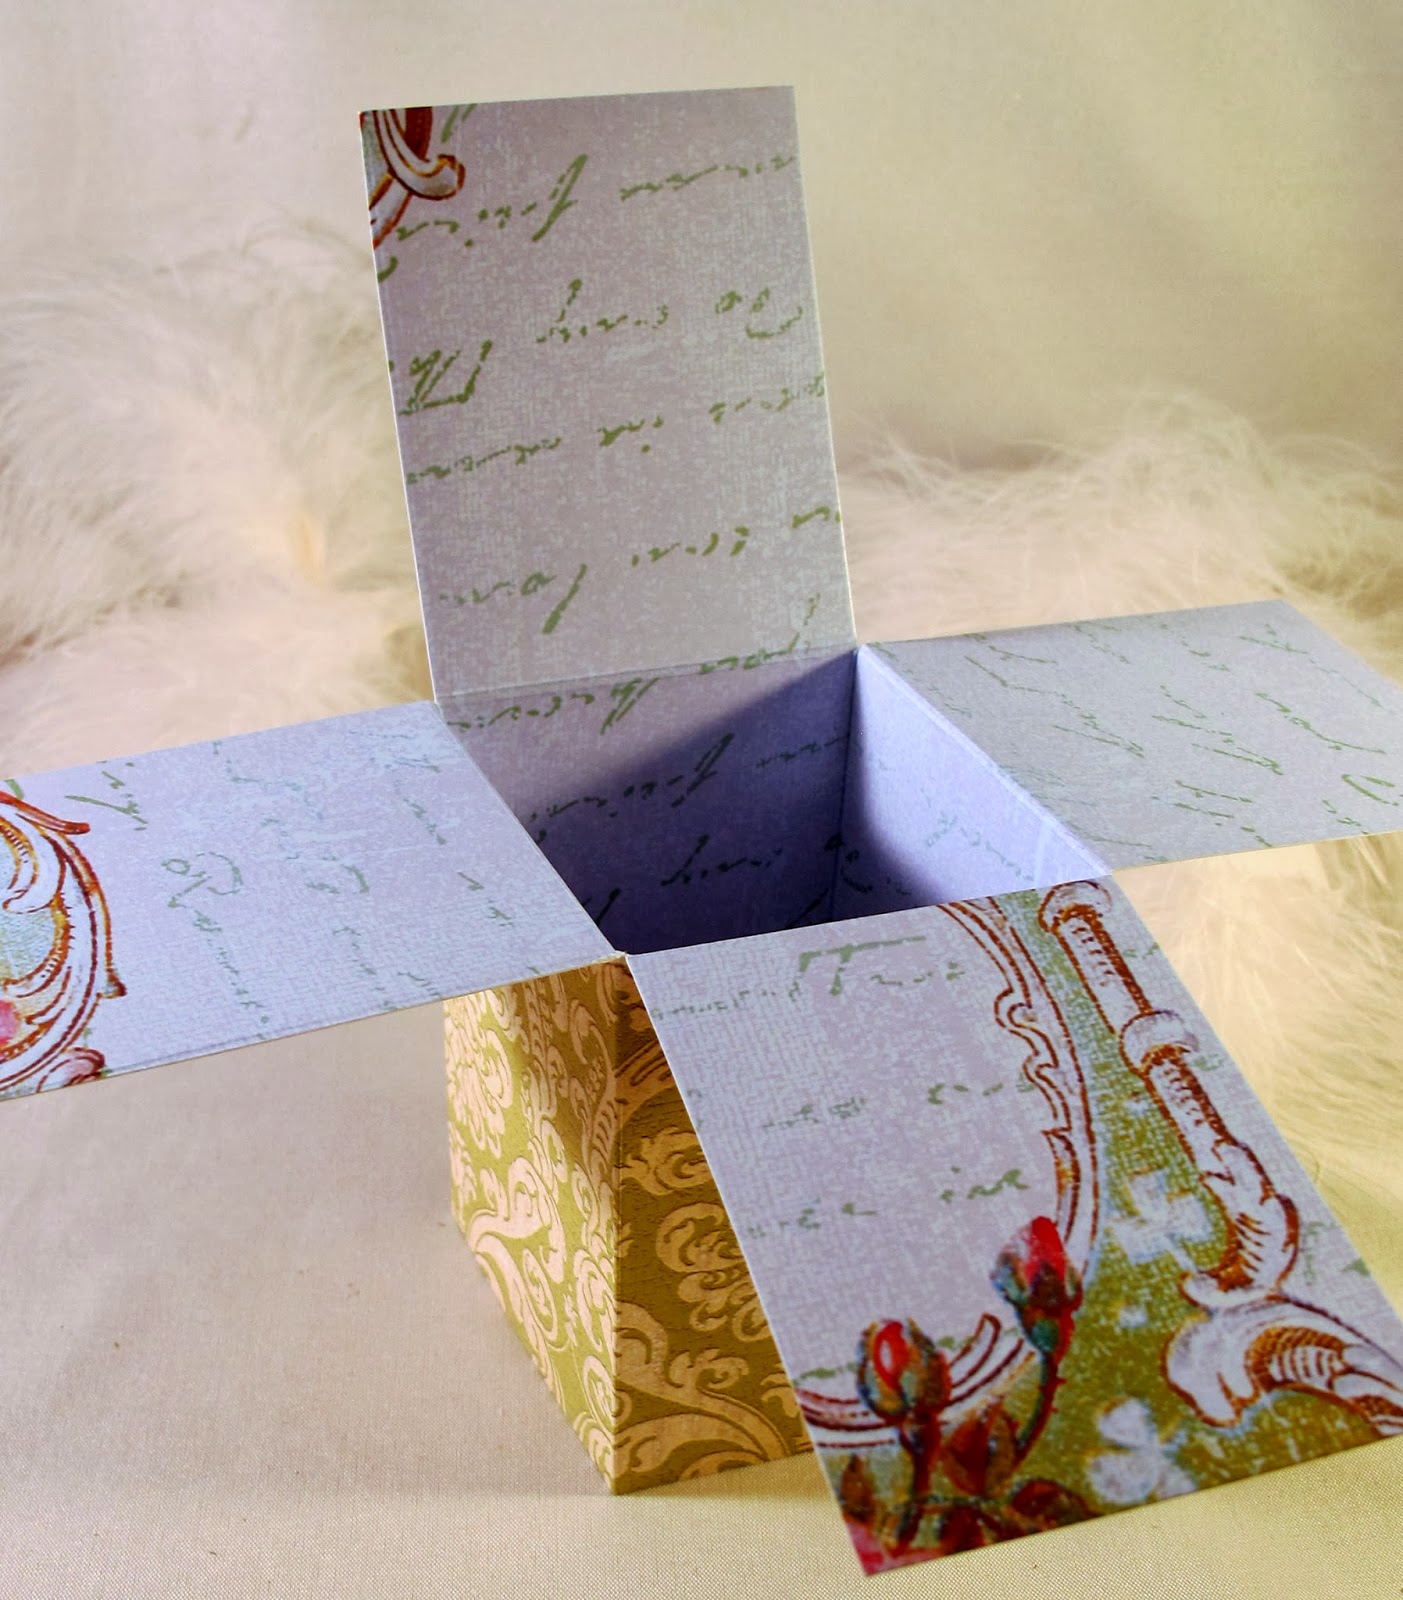
Fold on the score lines and use a strong adhesive
(such as red line tape or scor tape) to put your box together.
STEP 6:
For the BACK of your box, you can add a panel for writing your message.
This panel would be cut at 5 7/8" x 2".
This writing panel also gives your back panel extra strength.
I chose to use the extra piece that was cut from the full size card stock. Since it was a little short on the side measurements, I chose to distress with Tim Holtz Tea Die ink & a sponge.
This is what your 'card in a box' will look like folded closed BEFORE decorating.
NOW COMES THE FUN PART!
DECORATING!!!
As I said at the beginning of my post, I chose to use
Crafty Secrets 'Easter Cut Out Kids' and 'Green Damask Floral' digital papers.
I actually printed out this full sheet, then began fussy cutting.

You can click on any of the images to enlarge for a closer view.


It turns out that my 'Card in a Box' will fit inside a 5x7 envelope for mailing.
Here's another peek at the finished product.
I hope you'll give it a try and please let me know if you do so I can come take a peek!
BONUS!
Did you see these darling little Printable Gift Bags? One even has these cute kids that matches the Easter Cut Out Kids sheet that I used on my Card in a Box creation. What fun!!!

They are so easy to print, cut and put together!
OKAY ... now it's YOUR turn!
You'll have one week to play along so be sure to pop on over to the Crafty Secrets Blog and
post any sample you have created using ANY Crafty Secrets product(s)
and receive a $6.00 coupon. You can enter up to 4 samples to increase
your chance to win the $50 gift card but only one $6.00 coupon can be
sent.
Need more inspiration and want to see more fabulous tutorials?
Well check out what my amazing team mates have created ...
- Kathy Clement - Team Leader
- Vicki Chrisman
- Michele Kovack
- Sheila Rumney
- Elizabeth Lincoln
- Cherry Nelson
Thanks so much for stopping by today and for sticking with me to the end!
I look forward to seeing what YOU create!


This is so clever, so cute and such a great tutorial, too. You really are amazing, Dar! Thanks so much for all that you do!
ReplyDeleteBeyond adorable...so super sweet and cute!!! I love making these, and now I need to make a Spring one, my Valentine one had to be put away!! Love these darling little images and how cute that the gift bags match....maybe the Easter bunny will bring me one full of eggs (chocolate ones of course). Anywho...very, very nice project Dar, as always!!!
ReplyDeleteWhat a fun little pop up card. Love all the details. I am going to have to try and make one of these one day.
ReplyDeleteWow, just adorable Darlene, the little faces remind me of when I was a kid they look like the Campbells soup kids.
ReplyDeleteHugs diane
Dar, all I can say is WOW! I can't find the words to express how much I love this project. Fantastic girlfriend.
ReplyDeleteDar, all I can say is WOW! I can't find the words to express how much I love this project. Fantastic girlfriend.
ReplyDeleteWow Darlene, what adorable Easter projects you have made! Love your box with the Cut Out Kids and I just spoke to Cindy and she is fixing my ugly Art Tree I wanted to add to this set with a few cute birdies so I should be able to add the Cut Out Kids and Background to the store later today. The bags you also made are super cute and your photos really show everything off!
ReplyDeleteSandy
WOW! Double Wow! I LOVE this & if I wasn't up to my eyeballs, I'd try one right now. I will keep your instructions & try one the first minute I get. Who needs a video? You did a fantastic job with photos! Great job!!
ReplyDeleteDar...this just seriously could not be any cuter! Simply adorable!
ReplyDeleteJust love your card in a box! My next project is to make one; great design.
ReplyDeleteLove these cute boxes and all the detail! Thanks for the great tutorial.
ReplyDeleteOh my! Your card-in-a-box is wonderful! Thank you for the excellent tutorial. I am definitely going to have to try this project.
ReplyDeleteThat is so adorable! Thanks for the tutorial, I am definitely going to have to make some of these cards in a box :O)
ReplyDeleteOH my gosh, this is too adorable for words!...but I'll try lol. I just love these sweet Easter kid cutouts and your card in a box tutorial is awesomeness!!! Anyone whom may receive this will be so thrilled and it'll definitely put a big huge smile on their face! Thanks for sharing your fabulous creativity and crafty ideas for CS products with us all! Hugs :)
ReplyDelete