Happy Sunday Morning Friends!
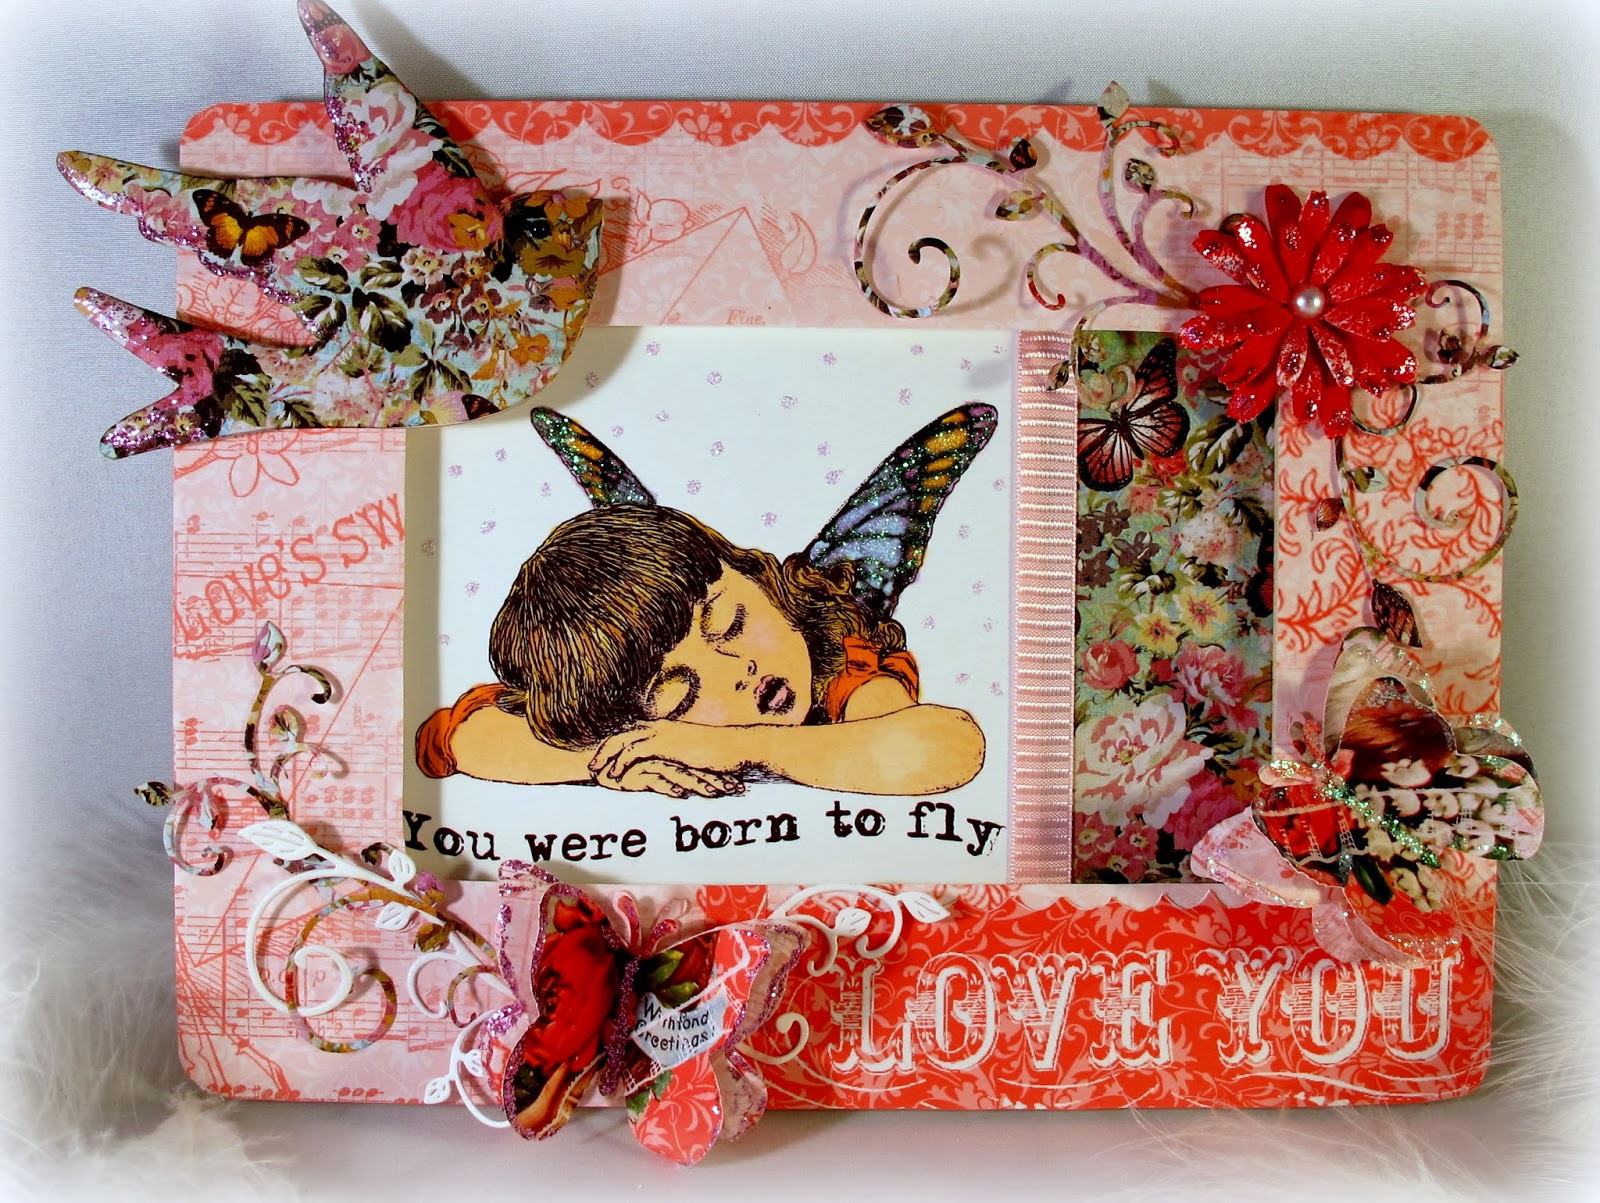
My dear sweet granddaughter has been going through a bit of a rough patch lately so I thought I'd create something that she can hang on her wall as a reminder of who she is and how much she is loved.
Here's the final product and I will share a short photo tutorial with you on how I altered this wooden frame/bird as well as make the multi-layer butterflies. So please read on . .
My wooden frame and bird came from Michael's in the $1 bin.
The design paper on the bird and right side of inner image are from the Paper Studio 'Kirby Teesdale Studio' paper pack.
My frame covering, flower and 3 layer butterflies are from one 8 1/2 x 11 sheet of design paper that I printed from the
Digital Valentine Kit available at the
Crafty Vintage Girl store of Crafty Secrets.
STEP 1:
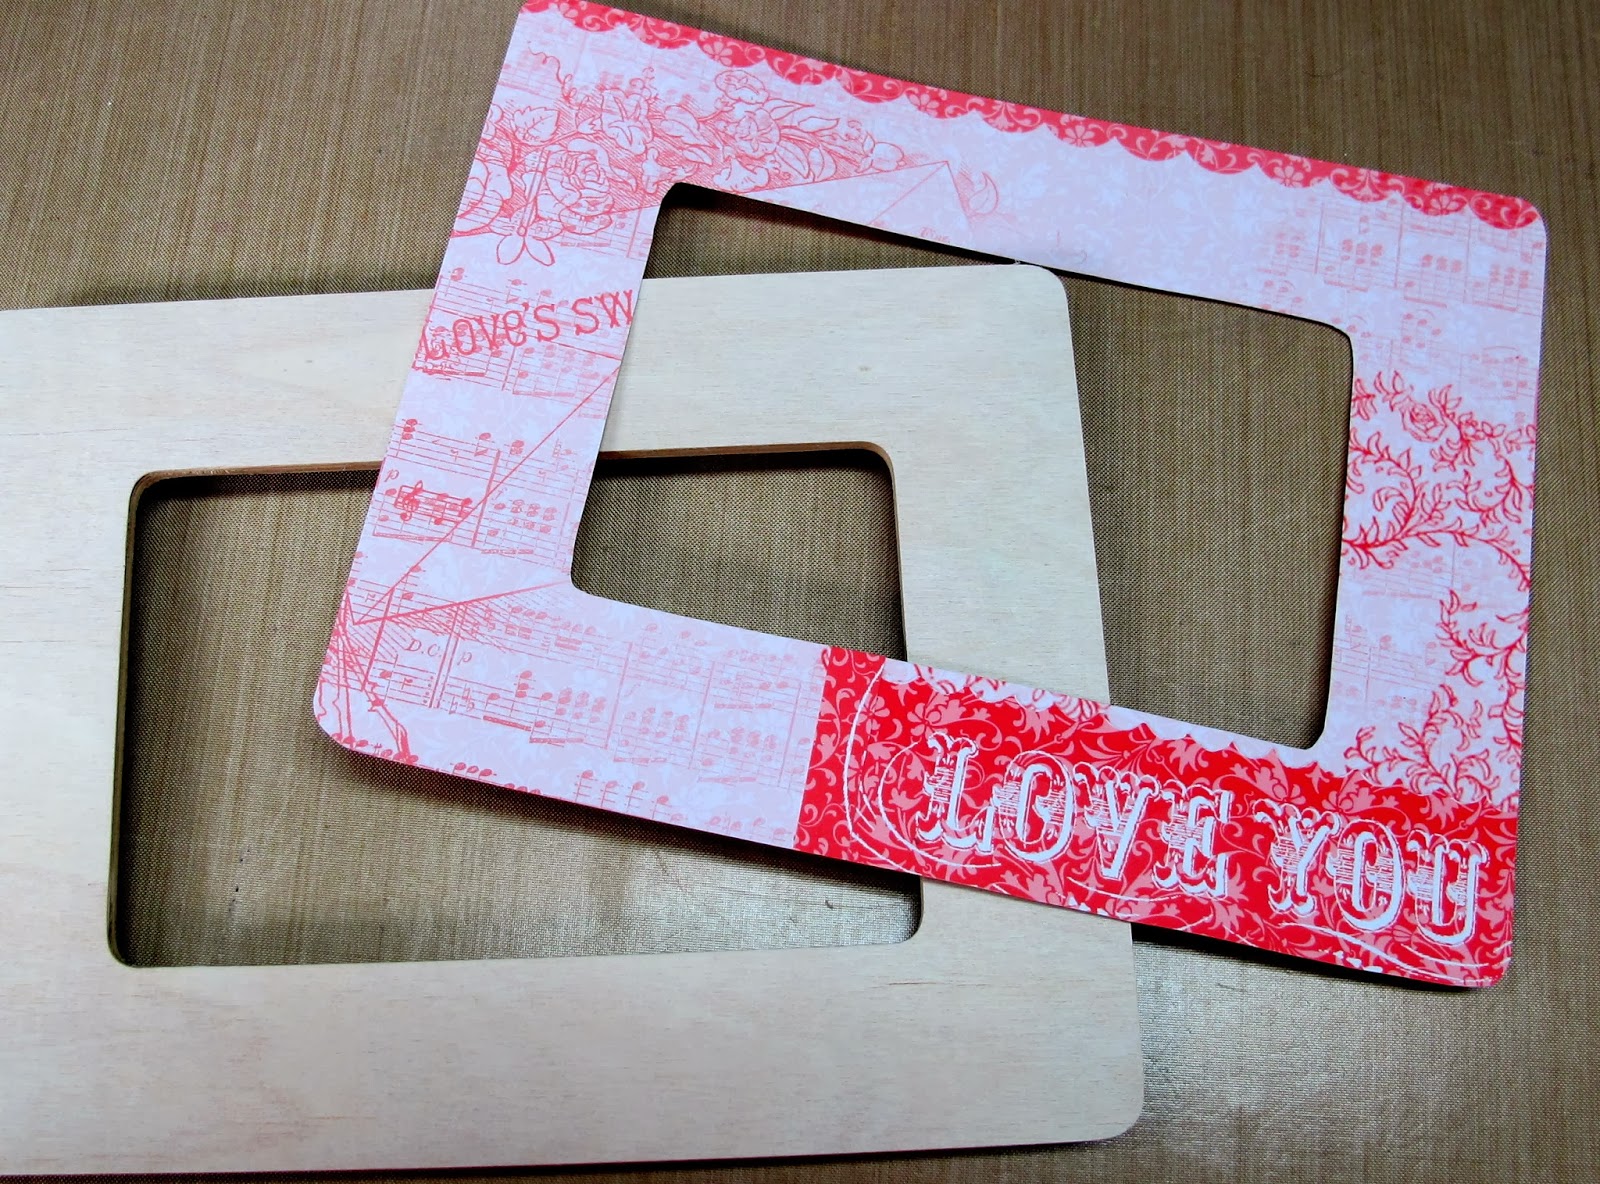
Very easy ... simply trace and cut
STEP 2:
I chose this adorable image from the Crafty Secrets digital
Printed onto white card stock and colored with Spectrum Noir alcohol markers.
(Mistake alert: while coloring I accidentally colored her sleeve yellow instead of pink ... didn't realize it till I had it put together so modified her blouse sleeves to be orange/red ... that's what happens when you put pink over yellow ... LOL)
I adhered my image to the insert chipboard that came with the frame and since I've had this cute image sitting on my desk waiting to be used, it wasn't the right size so I added a piece of the same paper as the bird and pink grosgrain ribbon to adjoin them.
I also did a little fussy cutting of the LOVE YOU section of paper to adhere to the base of the frame. I didn't want to loose the pretty scallop on the top section of the paper.
The back and sides of the frame were painted with Tim Holtz white Distress Crackle Paint for a more vintage look. Once dry, I flipped it over and adhered my CS design paper to the front using Mod Podge and a sponge brush.
NOW COMES THE FUN PART
Creating the pretty butterflies!
Still working from my original printed sheet of Crafty Secrets Valentine Kit design paper, I punched out six butterflies (3 for each butterfly). I used my new EK Success punch but you can use what ever butterfly die cuts or punches you may have on hand.
Using my flower making foam pad and a stylus, I went around the edge of each wing to help 'condition' it (like you would when you're making a flower) and with light pressure drug my stylus down the center to make the wings pop up.
Once they were conditioned, I used a small line of Art Glitter white glue to adhere/stack them together. For sparkle I used Stickles 'Thistle' along the edges of the one and 'Diamond' along the other (see close up below).
Here are a couple closeups of some of the detail.
'Diamond' Stickles was also used on the wings, as well as a few 'fairy dust' dabs in the white space of the image.
My flower was actually cut from the same paper but I got a little 'heavy handed' with the Dylusions 'postbox red' ink spray (new product for me) so I tried to alter the layout of the petal panels so some of the background paper showed through.
I hope you've enjoyed my little tutorial
(sorry it was PHOTO HEAVY but I don't have the means for a video tutorial).
All products used will be listed below, after my name.
Challenges I'd like to enter:
Thanks so much for stopping by and for your encouragement!
Hope you are having a wonderful weekend!
Enjoy this LAST WEEK of January 2014~ times flyin'!
As always . . .
Recipe:
 Papers:
 Crafty Secrets Digital Vintage Kit, the Paper Studio
Accessories: Michaels's wooden $1 frame, Michael's wooden $1 bird, Cheery Lynn Designs Fanciful Flourish Sm B117S die, EK Success butterfly punch, Cheery Lynn Designs Shasta Daisy flower die, Pink grosgrain ribbon, Stickles 'diamond' and 'thistle', stylus, foam forming mat, dylusions ink spray, Tim Holtz distress crackle paint, foam brush, Fiskars swivel craft knife, pop dots, white glue