
Hello Everyone!
A short while back I shared with you a card using the 'Water Stamping' technique that I learned over at Splitcoast Stampers. I've had some interest in this technique from some folks who don't belong to SCS so here we go.
List of items I used:
Hero Arts background rubber stamp
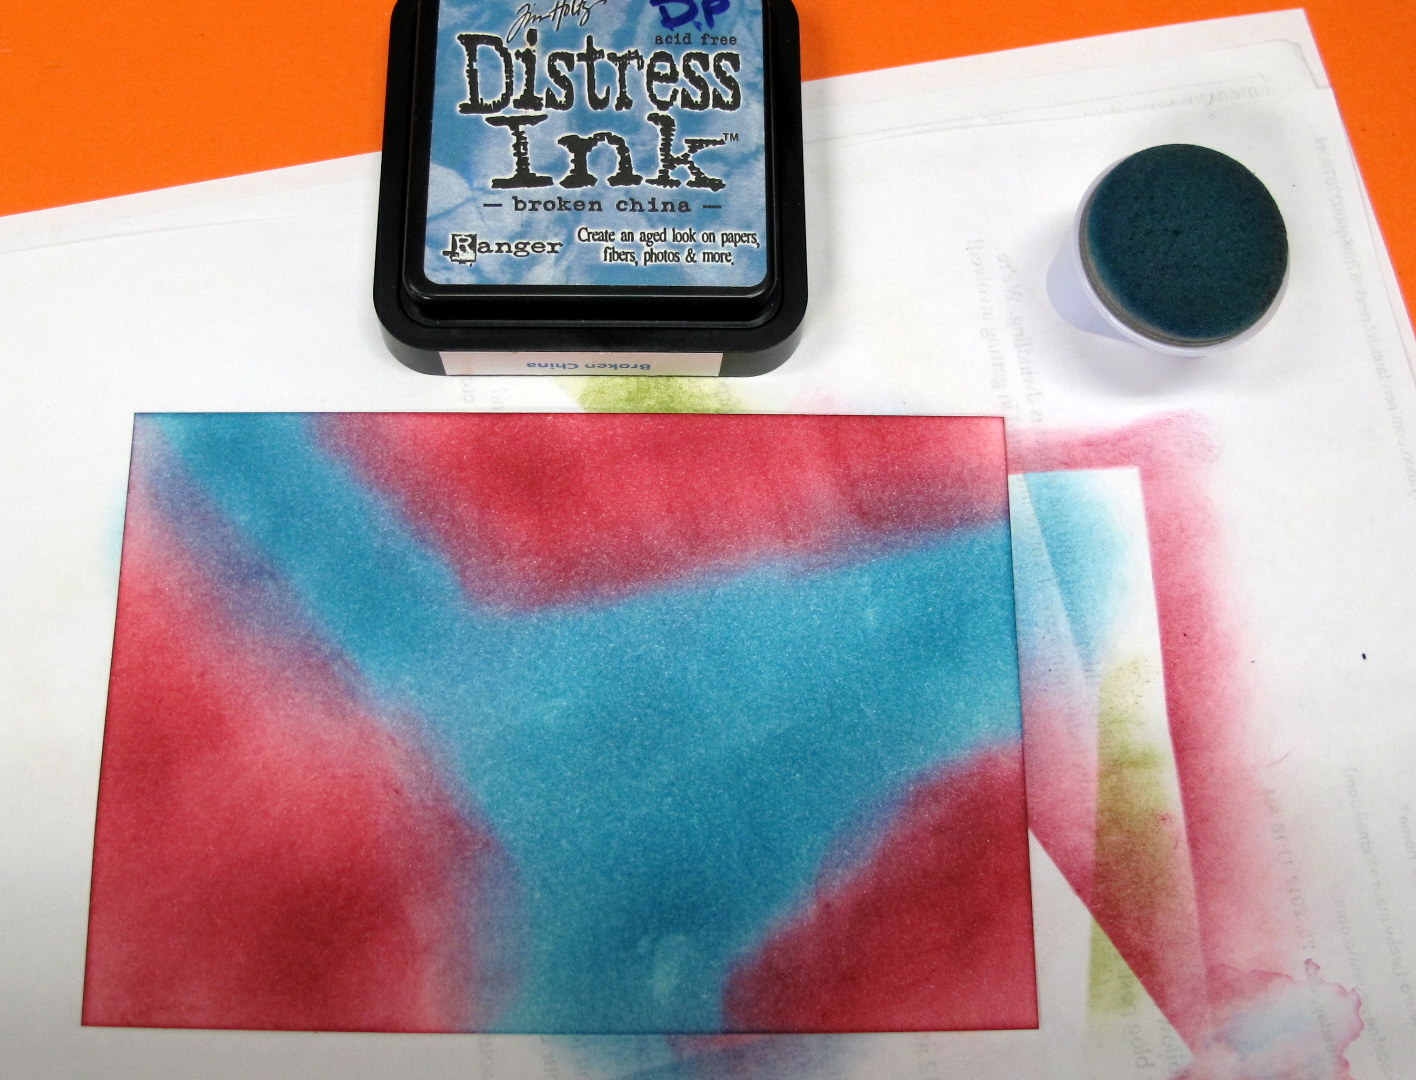
Tim Holtz 'broken china' distress ink*
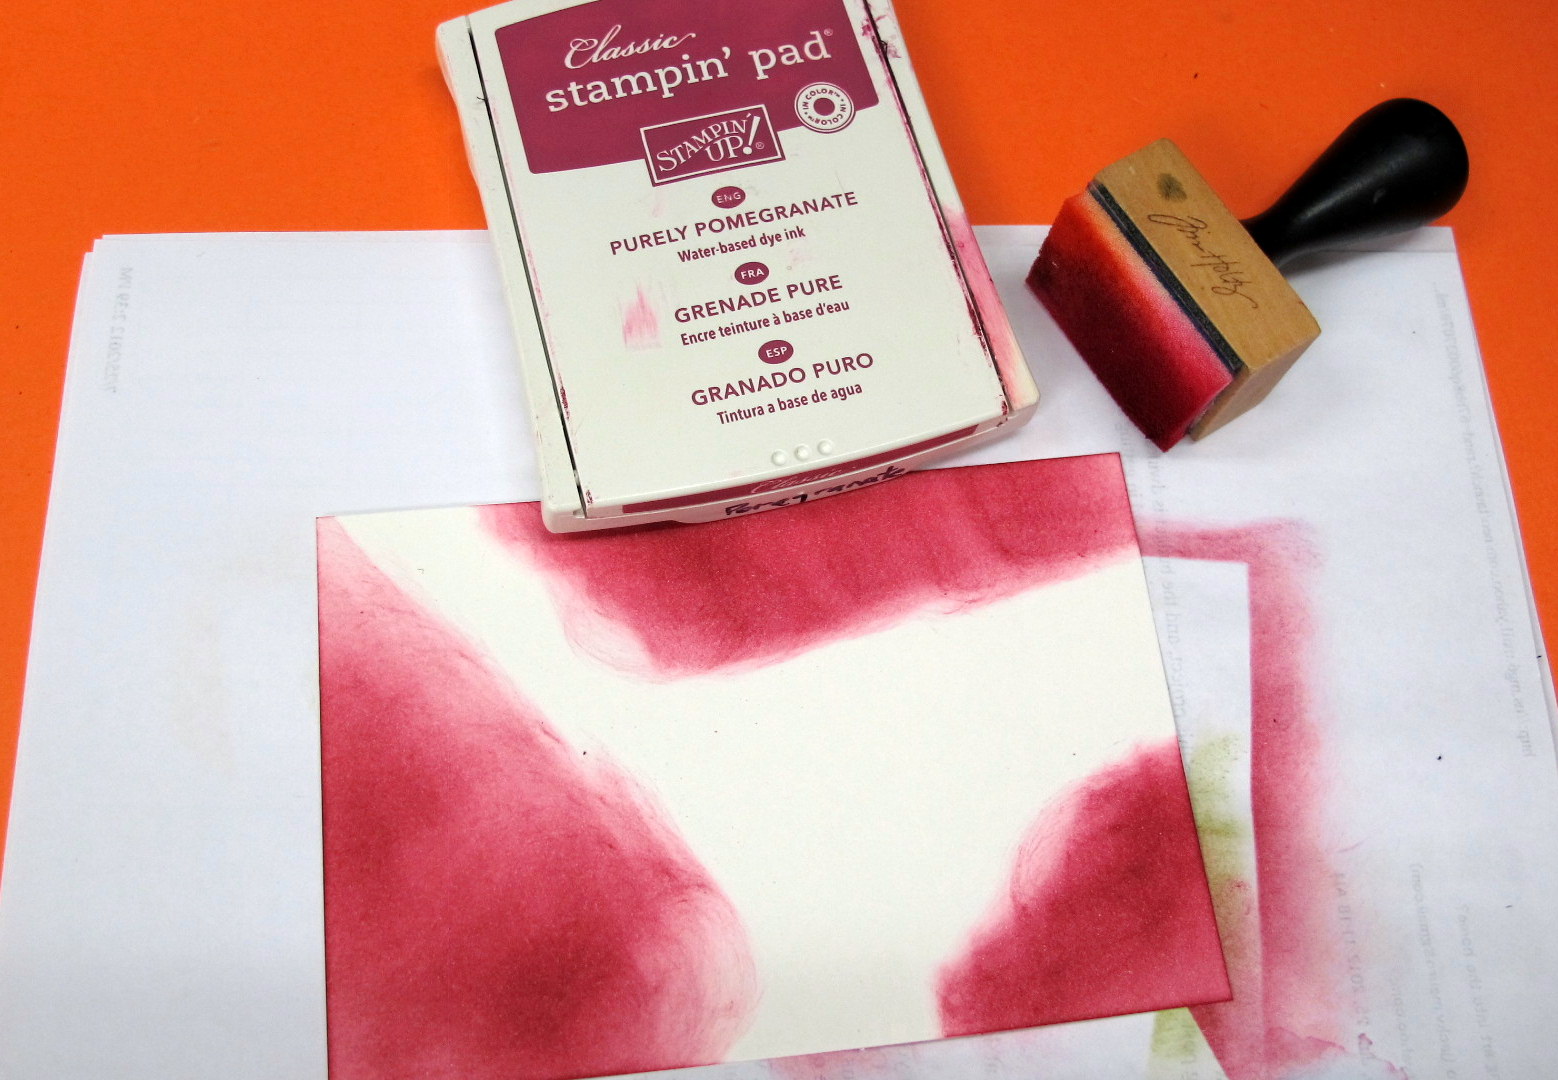
SU 'pomegranate' ink*
Large sponge dauber
Tim Holtz ink applicator
Plastic lined paper plate
Paper Towel
Spritz bottle with water
Heat Gun or Iron
* Brighter Colors Work Best
STEP 1: Apply your first color of ink leaving white space for additional color(s). You can use as many colors as you want. I just chose two colors so you could see the end result better.
STEP 2: Add your additional colors until white space is all covered.
STEP 3: NOW COMES THE FUN!
I used a plastic coated paper plate but you can use what ever 'container' you wish. Put a paper towel (or two) in it and wet it down with water ... it needs to be pretty wet. Now take the background stamp of your choice ... 'stamp' it on the wet surface then onto your newly inked cardstock.

STEP 4: Heat your 'water stamped' cardstock with a heat gun or iron to dry it and watch the image 'come up' ... really cool!

CLOSE-UP

STEP 5: Make a card using this cardstock panel as your background ...
Easy Peasy & Fun!

I hope you enjoy this little tutorial and give it a try!
Thanks so much for visiting and if you've left me a comment, DOUBLE thanks to you for making my day! I just love hearing what you think of my work. We all need a little positive reinforcement from time to time!

OH and a quick reminder ...
Don't forget to CLICK HERE for the easy details
on how you could win my BLOGAVERSARY CANDY!
I've added 4 additional items (will add photos to the original post).on how you could win my BLOGAVERSARY CANDY!
Darlene this is just gorgeous. Love the colours and beautiful design. Thanks for the handy tutorial. Hope you are having a fab Sunday.
ReplyDeleteHugs
Desíre
Doing Life
Digistamps4Joy DT Member
Tammy’s Scrapin Corner DT Member
wow! such a wonderful and effective technique, thank you for a great tutorial too
ReplyDeleteHugs Sue
Gorgeous card Darlene! I love that technique!! Thanks for the wonderful tutorial!
ReplyDeleteHugs, Tammy
Brilliant idea . Got to try this out for myself. Hugs
ReplyDeleteThanks for the tutorial, Dar! Fab card!
ReplyDeletethanks for the tutorial Dar, and I love that hero arts stamp too but it is not so easy in germany to get some more HA product...really lovely effect Dar, lovely bday card
ReplyDelete